How To Install A Liquid Cooler

So you’ve decided to tame the heat and give your PC a cool, liquid makeover. Installing a liquid cooler sounds like brain surgery, but honestly? It’s more like putting togethe...
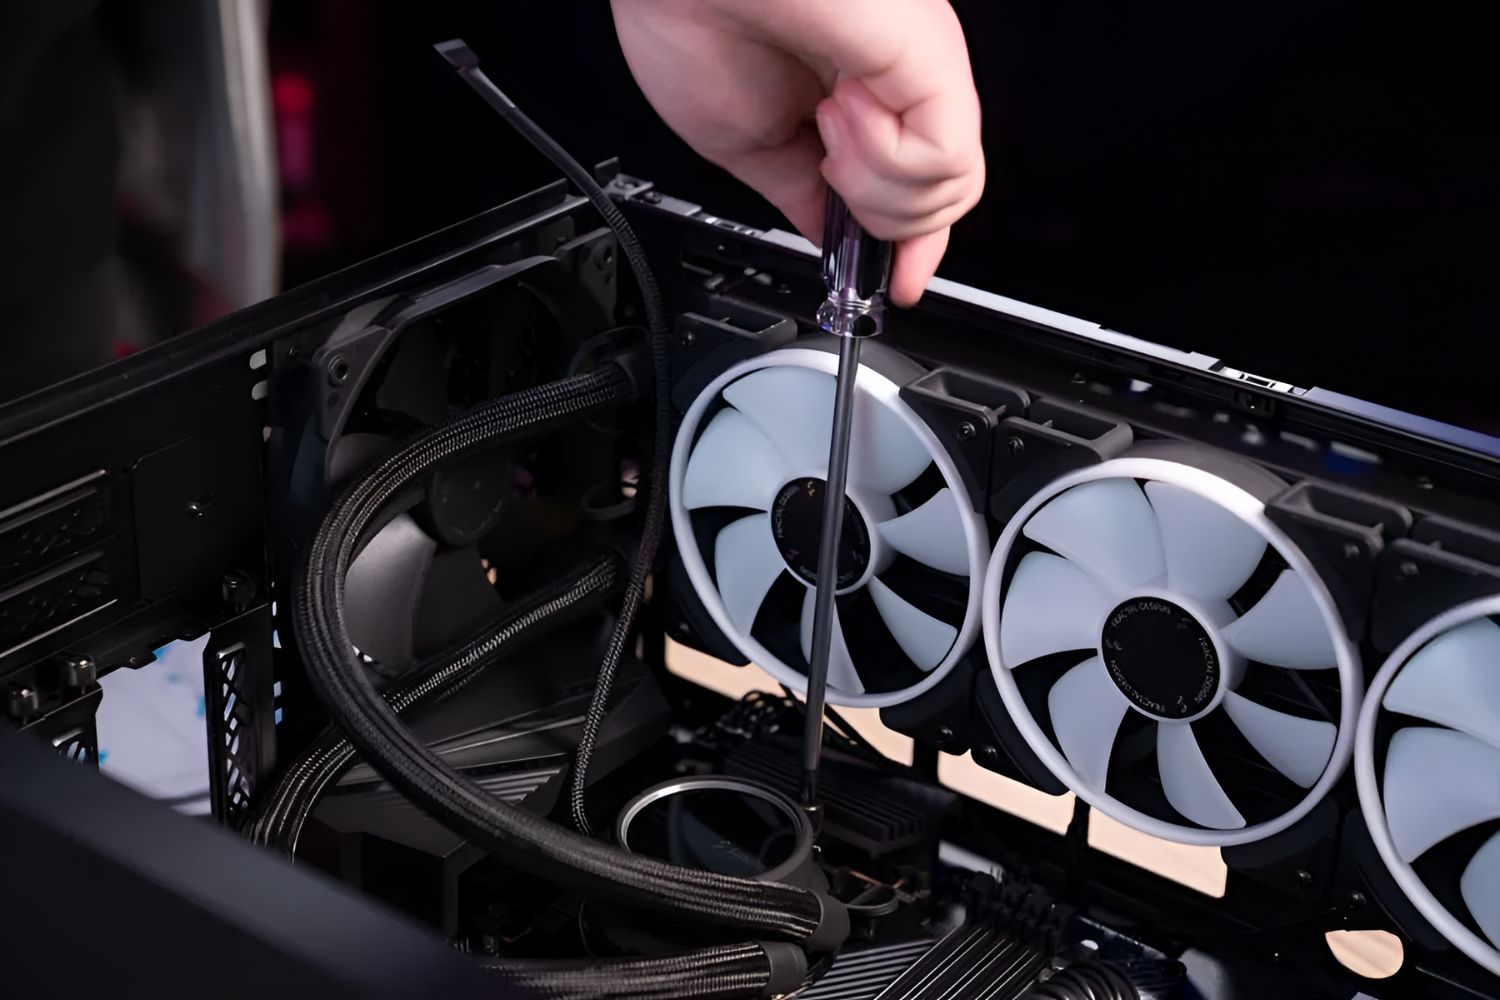
So you’ve decided to tame the heat and give your PC a cool, liquid makeover. Installing a liquid cooler sounds like brain surgery, but honestly? It’s more like putting together a fancy Lego set. This little upgrade can make your computer run quieter, last longer, and even unlock some overclocking magic.
Why Bother With Water?
Air coolers are fine—like a reliable old pickup truck. But a liquid cooler? That’s your PC’s first-class ticket to a spa day at the Ice Hotel. It moves heat away from your CPU faster, which means your fan doesn’t have to scream like a jet engine during a Zoom call.
Plus, let’s be honest: those sleek tubes and a glowing pump head look gorgeous through a glass side panel. Your rig will finally look as cool as it runs, and you’ll get a tiny thrill every time you turn it on.
Must Read
What You’ll Need (No Soldering Iron)
Grab your liquid cooler (all-in-one, or AIO, is the friendly beginner’s choice), your screwdriver, and a clean, flat workspace. You also need a dash of confidence and maybe a good playlist—this is fun, not a chore.
Pro tip: remove your graphics card first. It’s that one friend who always gets in the way at a party. Give yourself an hour, and keep a paper towel nearby for any nervous sweat (not actual leaks—those are rare).
Step 1: Prep the Board
Turn off your PC, unplug everything, and lay the case on its side. This isn’t open-heart surgery, but treat it like a delicate spa treatment. Remove the old cooler (if any) and gently clean off the old thermal paste with isopropyl alcohol.
You’ll see a shiny CPU lid staring back at you. Say hello—you’re about to give it a superhero cape. Install the backplate that came with your cooler; it usually snaps or screws into place behind your motherboard.
 HOW TO INSTALL A LIQUID COOLER IN YOUR PC | Step by Step Guide - YouTube
Step 2: The Gooey Middle Bit
Apply thermal paste. This is the part where beginners panic. Just put a pea-sized dot right in the center of the CPU—no swirls, no stencils. The cooler’s pressure will spread it perfectly, like peanut butter on warm toast.
Now line up your pump block (the part with the tubes) over the CPU. Lower it slowly and evenly, then screw it down in a crisscross pattern. Don’t hulk it—just snug. You’ll feel a satisfying click when it’s seated right.
Step 3: Radiator & Fans
Pick a home for your radiator. Most cases have spots at the top, front, or bottom. Top-mounting is the easiest and often the best for airflow. Screw the radiator to your case, then attach the fans so they blow air out through the radiator.
Cable management alert: plug those fan cables into the “CPU_FAN” and “AIO_PUMP” headers on your motherboard. If you get confused, your manual is a better friend than YouTube’s autoplay nightmare. Take a breath—you’re almost done.
Leak Check & Power On
This is the moment of truth. Plug in your PSU (just the main power cable) and flick the switch. Don’t turn the PC on—listen for the pump. You’ll hear a soft gurgle as liquid starts moving. That’s music.
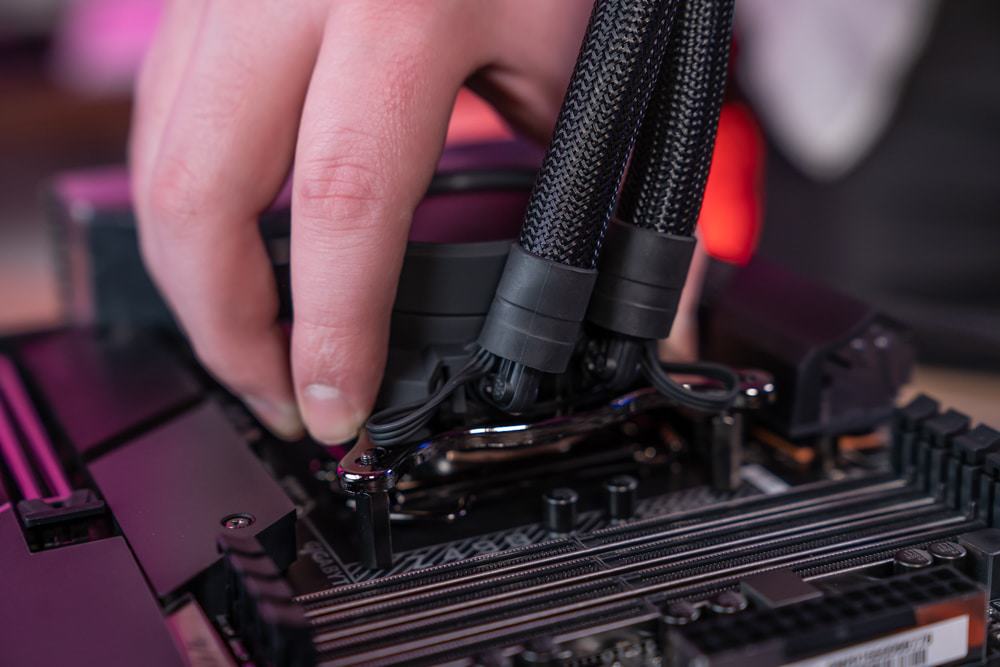 How to install Liquid Cooling (AIO CPU Cooler) | WePC
If you see no drips, you’re golden. Celebrate quietly—you just became the captain of a liquid-cooled starship. Reconnect everything, put the side panel on, and boot up for real.
Watch Those Temps
Check your CPU temperature with a free tool like HWMonitor. It should be 20-30°C at idle and under 70°C while gaming. If it’s higher, check that your pump cable is powered and your fans are spinning.
Most coolers let you control pump speed in your BIOS. Set it to “Standard” or “Quiet”—you earned that whisper-quiet hum. Your PC will thank you with frame rates you’ve never seen before.
The Uplifting Finish
See? You didn’t need a PhD in thermodynamics. You just needed a willing heart, a YouTube tutorial on standby, and the guts to try something that makes your digital life cooler—literally and philosophically.
Now go enjoy your new liquid loop. Every time your games run silky smooth and your fans barely breathe, remember: you built that. And if you can install a liquid cooler, imagine what else you can coolly conquer. The world is your thermal paste—now go spread a little genius.
